
Last updated October 16, 2026
 AC repair
 Furnace & heating
 Heat pumps
 Ductless mini splits
 Carrier
 Trane
Trane Goodman
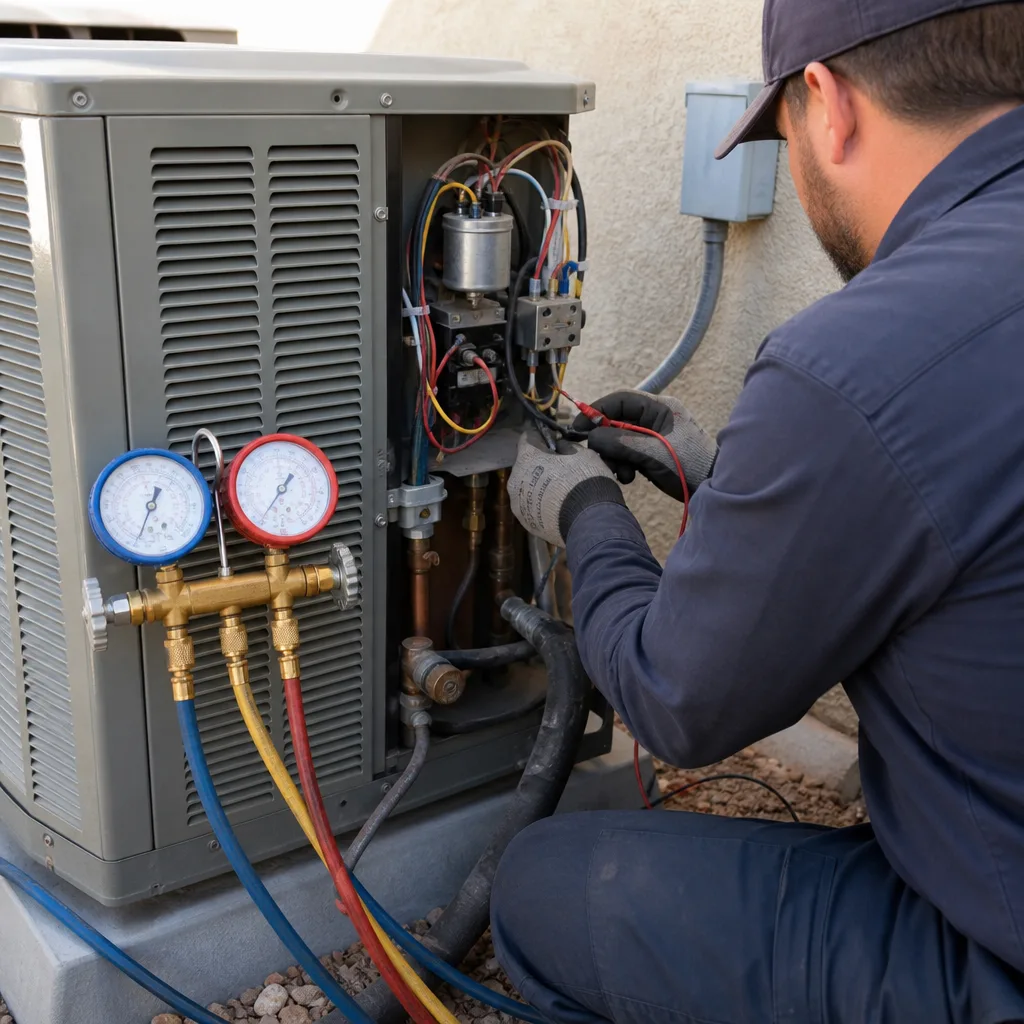
Seasonal tune-up and full diagnostic on your Carrier, Trane, or Goodman system - readings shown to you before any repair is proposed
Diagnosis first, numbers second - you approve the repair price before a single part goes in.
Get your free estimateAC Repair Maintenance Checklist for Henderson Homeowners
The average Henderson AC unit logs roughly 2,800 operating hours per year. That’s nearly three times what a Chicago system runs. Your “annual” tune-up in this climate is doing the work a Midwest homeowner spreads over three years, and a generic maintenance checklist built for a four-month cooling season will miss the failures that Henderson’s heat, caliche dust, and hard water actually cause. This guide is a maintenance and AC Repair checklist calibrated to Henderson’s real operating calendar, so you know exactly what to inspect each month, what a capacitor failure looks like before it strands you in July, and why a $79 tune-up and a real preventive visit are not the same job.
Styles & brands we work with
Quick Answer
A Henderson AC maintenance checklist has to run from March through October, not spring and fall. The non-negotiable tasks are: replace or wash the air filter every 30 days during peak season, clear the condensate drain every 60 days because Henderson’s hard water leaves alkaline scale behind, inspect the capacitor and contactor each spring before heavy run hours begin, and wash the outdoor condenser coil after every major dust storm. If you do those four things on schedule, most Henderson repair calls become predictable instead of emergency.
Table of Contents
- Why Henderson’s Operating Hours Change the Maintenance Math
- The Month-by-Month Henderson AC Maintenance Calendar
- Clearing a Condensate Drain Line Clogged with Henderson’s Hard Water Scale
- Capacitor and Contactor Inspection: The Two Parts That Fail First in Desert Systems
- Caliche Dust on Evaporator Coils: When to Clean vs. When to Treat Chemically
- The $79 Tune-Up vs. a Real Preventive Maintenance Visit
- Common Mistakes to Avoid
- When to Call a Professional
- Frequently Asked Questions
- The Bottom Line
Why Henderson’s Operating Hours Change the Maintenance Math
Here’s the number that matters: a Henderson AC system runs somewhere around 2,500 to 3,200 hours in a typical year. The national average is closer to 1,000. That means a five-year-old Henderson unit often has the compressor wear of a twelve-year-old unit in a milder climate. The maintenance interval has to account for this. When we say a capacitor is a wear item, we mean it in Henderson terms: a part that might last six years elsewhere can fail in year three here because it has cycled three times as often.
The second factor is heat soak. When outdoor temperatures sit above 105°F for consecutive days, the condenser coil has to reject heat into air that is already hot. The system runs longer per cycle, the refrigerant pressures climb, and marginal components get pushed past their tolerance. A system that cools fine at 95°F can struggle at 108°F, not because anything broke, but because the coil is partially restricted or the filter has 45 days of dust in it and the system no longer has the headroom to absorb the extra load. Cleaning and inspection before the first heat wave is not optional. It is the difference between a unit that limps through August and one that quits on the hottest Saturday of the year.
The third factor is what gets into the equipment. Henderson’s air carries fine caliche dust during wind events, and the municipal water supply is hard enough to leave mineral deposits in anything water touches. Both of these show up inside your AC in specific, predictable ways. A generic checklist will not catch them because a generic checklist was not written for this climate. The AC repair calls we run in Henderson follow a pattern, and that pattern tells you exactly where to look.
The Month-by-Month Henderson AC Maintenance Calendar
Henderson’s cooling season runs roughly from March through October. Some years it starts in February. Some years it runs into November. Here is the calendar we recommend to homeowners, built around when the system actually works.
February: Pre-Season Systems Check
Before the first real heat arrives, run the AC for 20 minutes in cooling mode. Listen for the outdoor unit starting hard, check that the air coming from the registers is noticeably cool, and confirm the outdoor fan is spinning at full speed. If the compressor hums but the fan does not turn, you have a capacitor issue. If the system trips the breaker, do not reset it and try again. Call a technician. This test run catches roughly 70% of the failures that would otherwise surface on the first 95°F day.
March: Filter, Drain, and Coil Baseline
Replace the air filter. Inspect the condensate drain line and clear it if water is standing in the pan (the full procedure is in the next section). Wash the outdoor condenser coil with a garden hose, low pressure, straight through the fins. Remove any leaves, cottonwood fluff, or construction debris from around the unit. Check that the thermostat is set to cooling and the temperature differential between supply and return air is 15°F to 20°F.
April through September: Monthly Filter and Visual Inspection
During the six hottest months, the filter needs attention every 30 days. A 1-inch pleated filter loaded with caliche dust can raise the system’s power draw by 10% to 15% and drop airflow enough to freeze the evaporator coil. Each month, do this:
- Check the filter. If you cannot see light through it, replace it regardless of the number of days.
- Look at the outdoor unit. The coil should be clean. The area around it should be clear of weeds, stored items, or debris within two feet.
- Look at the condensate drain. If a wet/dry vacuum is available, pull 10 seconds of suction from the drain pipe’s outside exit.
- Listen for any sound that was not there the month before: buzzing, rattling, hissing, or the system short-cycling on and off.
- Check the thermostat display. A fading or unresponsive display is often the first sign of a failing thermostat or weak batteries.
October: Shutdown Procedure
Before the system goes idle for the winter (or significantly reduces its hours), do a final full inspection. Replace the filter one last time so the system does not sit for months with a loaded filter. Pull suction on the drain line. Wash the outdoor coil if dust events occurred in September. Run the heat cycle once to confirm the reversing valve and heat strips work before temperatures drop. Then cover the outdoor unit only if the cover is a breathable, full-fit cover; a tarp that traps moisture against the coil causes more corrosion than it prevents. In Henderson, most homeowners leave the unit uncovered, which is usually the right call.
What this calendar does not include
It does not include refrigerant level checks, because a sealed system should not need refrigerant unless there is a leak, and a homeowner cannot check this safely or accurately. It does not include opening the electrical panel, because a 240-volt system can kill. Those tasks belong on the professional maintenance visit, which we cover in our The Complete Guide to HVAC in Henderson.
Clearing a Condensate Drain Line Clogged with Henderson’s Hard Water Scale
Henderson’s water is hard: high in dissolved calcium and magnesium. When the AC runs, condensation forms on the cold evaporator coil, and that water is essentially distilled. But here is what most checklists miss: the drain line also carries whatever the coil washes out of the air, and over a season of heavy run hours, that combination produces a white, crusty, alkaline scale that narrows the inside of the PVC drain line. The clog is rarely a sudden blockage. It is a gradual narrowing that finally closes completely, usually in August, usually when the system has been running around the clock, because that is when the most condensation flows and any restriction backs up immediately.
A backed-up condensate line in most Henderson installations triggers a float switch that shuts the system down to protect the ceiling or the air handler. So a clogged drain often presents as a system that “just stopped working for no reason.” The compressor is fine. The capacitor is fine. The float switch is doing its job because the water has nowhere to go.
How to inspect and clear it, step by step
- Locate the drain line. In most Henderson homes it is a white PVC pipe leaving the indoor air handler or furnace, running to a floor drain, a utility sink, or through the exterior wall.
- Find the clean-out. Most installations have a vertical tee or a capped port near the air handler. If yours has one, open it.
- Look for standing water. If water is pooled in the open pipe or the emergency drain pan under the unit is wet, the line is restricted or blocked.
- Attach a wet/dry vacuum to the exterior exit of the drain line. Use a rag or duct tape to seal the connection as well as you can.
- Run the vacuum for 30 to 60 seconds. You should hear a change in sound and see water, sludge, or white scale chips pulled into the canister.
- Flush with water. Pour a quart of warm water through the clean-out and vacuum again. Repeat until the water flows freely through to the exit.
- Do not pour bleach. Bleach does not dissolve mineral scale, and it can damage the PVC and the evaporator coil if it backs up. If you need a chemical treatment, use a product made for AC drain lines, or white vinegar in a 50/50 mix with water once the line is clear.
If the line repeatedly clogs within 60 days, the restriction is likely inside the evaporator coil’s drain pan or the trap, and that requires opening the air handler. At that point, a professional should handle it. Dalton Heating & Air Henderson home page has more on how we run that service call.
Capacitor and Contactor Inspection: The Two Parts That Fail First in Desert Systems
In our experience across Henderson service calls, two electrical components account for the majority of stranded homeowners on hot days: the capacitor and the contactor. They are both in the outdoor condenser unit, they both cycle every time the thermostat calls for cooling, and they both degrade faster in high-run-hour environments. Knowing what early failure looks like can turn a $220 repair into a scheduled appointment instead of a weekend emergency.
The capacitor: the starting battery for the motors
The capacitor stores and releases the electrical charge needed to start the compressor and the condenser fan motor. In Henderson, a capacitor that would last five or six years in a temperate climate commonly fails in three because it cycles so many more times per day. The failure mode is progressive. A failing capacitor often bulges at the top or sides: the flat top looks rounded, or the cylinder looks slightly swollen. Before it dies completely, the compressor may start hard (a delayed start or a brief groan), the fan may spin slowly, or the system may hum for a few seconds before the compressor engages. Because the capacitor also provides voltage to the fan motor, a weak capacitor can make the fan run at reduced speed, which raises head pressure and pushes the system toward a compressor thermal shutdown.
What a homeowner can safely do: look at the outdoor unit when it starts. If the fan does not begin spinning within one second of the compressor hum, or if the fan starts slowly and picks up speed over several seconds, the capacitor is suspect. Do not open the panel to check it. The capacitor holds a charge even with the power off, and discharging it without training is dangerous. This is a part to have inspected during the professional maintenance visit.
The contactor: the switch that turns the system on
The contactor is an electrical switch that closes when the thermostat calls for cooling and opens when the call ends. Each cycle produces a small arc at the contact points. After tens of thousands of cycles in a Henderson summer, the contacts pit, carbonize, and eventually stop making reliable contact. The symptom is intermittent: the system runs fine for days, then fails to start, then runs fine again. A homeowner may hear a chattering sound from the outdoor unit, or the system may not respond when the thermostat clicks over.
A pitted contactor that is left in service creates higher resistance, which generates heat, which accelerates failure at the connection points. In a worst case, the contactor welds itself closed and the outdoor unit runs without stopping. If you ever see the outdoor unit running when the thermostat is set to “off,” kill the power at the breaker and call a professional that day. That is one of the few genuine emergencies on the AC repair side, and it justifies an immediate call.
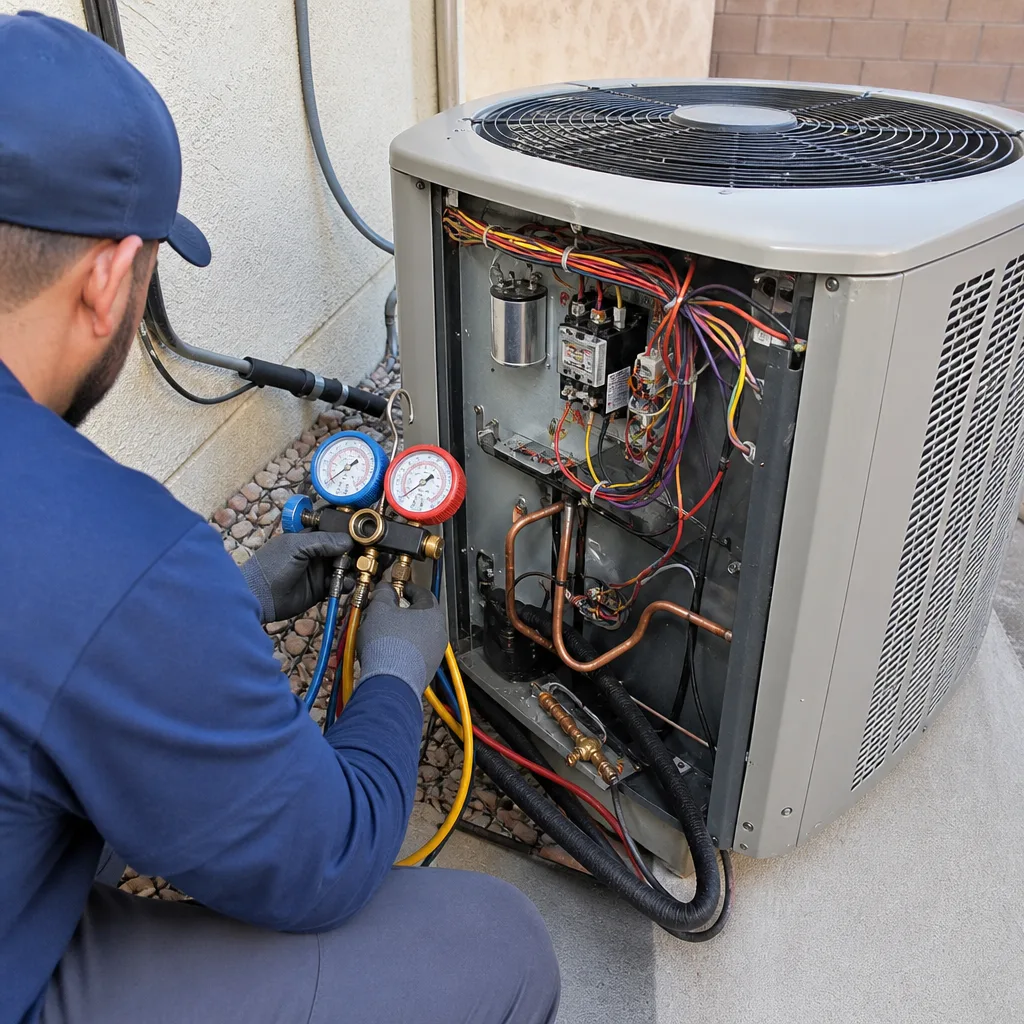
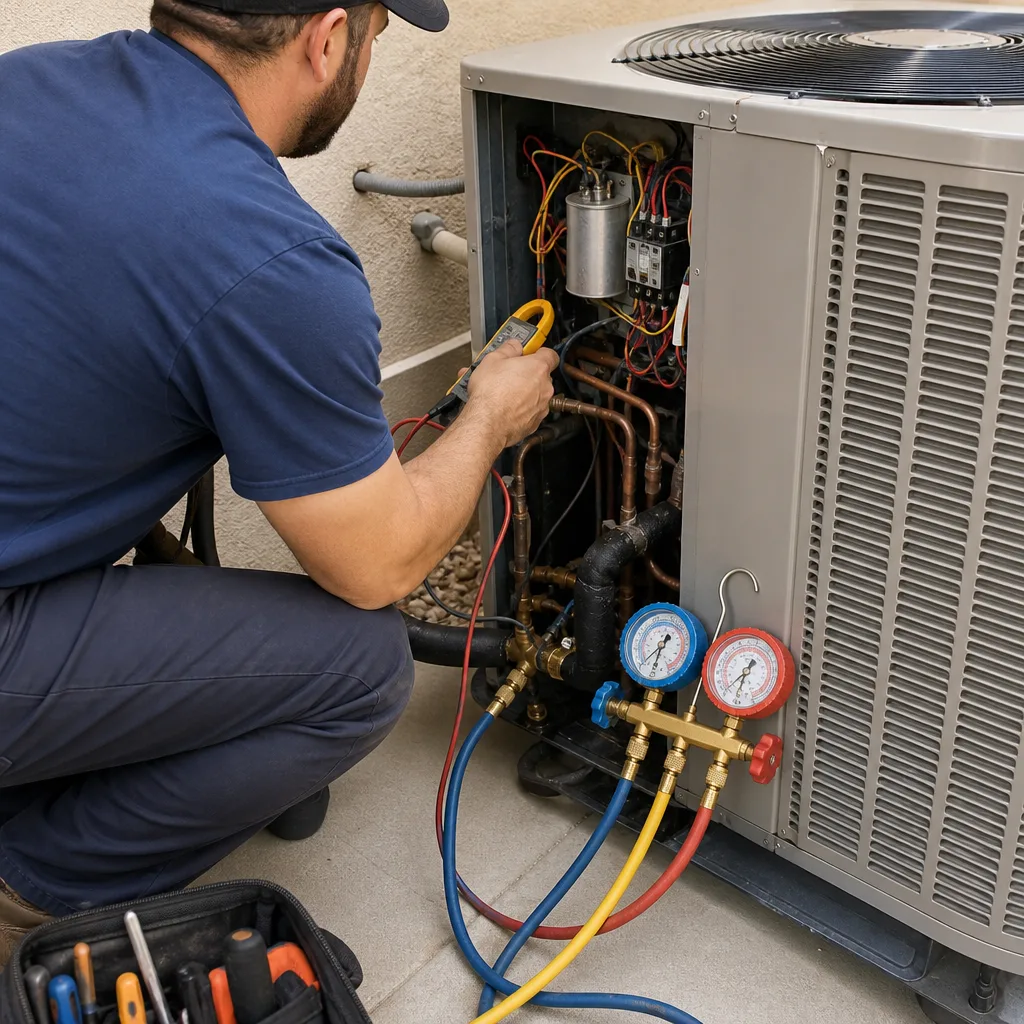
For homeowners with a Trane, Lennox, Carrier, or American Standard system, the capacitor and contactor are all replaceable service parts, and the inspection takes a technician about 15 minutes. The point of a pre-season maintenance visit is to catch these parts before they fail on the hottest afternoon of the year.
Caliche Dust on Evaporator Coils: When to Clean vs. When to Treat Chemically
Henderson sits in a basin where wind events pick up fine, alkaline soil known locally as caliche. It is not the coarse sand of a coastal desert. It is fine enough to pass through a standard air filter and deposit on the evaporator coil inside the air handler. Left there, it does two things: it insulates the coil so it transfers less heat, and it mixes with condensation to form a paste that binds to the coil fins. Once that paste has baked through a summer of run cycles, it is nearly impossible to remove with water alone.
The threshold question for a homeowner is whether the coil needs cleaning at all. Here is how we think about it. If the filter has been changed every 30 days and the air handler is in a clean mechanical room or closet, the evaporator coil may go several years without needing anything more than a visual check. If the filter has been neglected, if the home is in a newer Henderson development with ongoing construction nearby, or if the air handler is in an unconditioned garage where dust infiltrates through the panel seams, the coil may need attention every one to two years.
How to tell the difference
- Light dust film: The coil looks gray but you can still see the aluminum fins and the spaces between them. A professional cleaning with a non-acidic coil cleaner and a low-pressure rinse is usually sufficient. Do not use a stiff brush or a pressure washer on the fins; they fold over easily, and a folded fin is a blocked fin.
- Caked or crusted deposit: The coil surface looks like dried mud, and you cannot see fin definition through the coating. This requires a foaming alkaline coil cleaner that dwells on the coil to break the bond between the caliche and the aluminum, followed by a rinse that carries the material out through the drain. This is a job for a trained technician because the cleaner is caustic and the rinse water has to be managed so it does not flood the secondary pan or the control board.
The evaporator coil is accessed by opening the air handler cabinet, which means working around electrical components and, in many Henderson homes, working in an attic at 130°F in season. We recommend homeowners use that attic access for one thing only: a visual check of the cabinet and the filter. If the filter slot is full of fine tan dust each month, assume the coil is accumulating too, and schedule an inspection before the summer peak.
The $79 Tune-Up vs. a Real Preventive Maintenance Visit
Henderson gets flooded with $79 tune-up offers every spring. Here is what that price actually buys, based on what we see from competitors and what a complete visit requires. For DIY vs Professional HVAC: The Henderson Homeowner’s Decision Guide, see our dedicated breakdown.
| Task | $79 Tune-Up (Typical) | Real Preventive Maintenance Visit |
|---|---|---|
| Filter inspection | Often just checked, not replaced | Checked, replaced if needed, and the filter size and type documented |
| Condensate drain | Visual check only | Line cleared with suction, flushed, and tested for flow |
| Capacitor test | Rarely included | Tested under load; microfarad reading recorded against the rating |
| Contactor inspection | Rarely included | Contacts checked for pitting; coil checked for wear; wiring torque checked |
| Refrigerant level | Not checked | Checked against manufacturer spec; superheat and subcooling measured |
| Coil condition | Visual only, outdoor unit | Outdoor and indoor coils checked; chemical treatment recommended only if needed |
| Electrical connections | Not touched | Terminals checked and tightened; voltage and amperage recorded |
| Written report | Not provided | Provided, with measurements and photos |
The difference is not the price. It is what gets measured and what gets documented. A real maintenance visit produces a written record of the system’s baseline numbers: the capacitor’s current microfarad reading, the refrigerant pressures, the temperature drop across the coil, the amp draw on the compressor. That record is the early-warning system. When a capacitor is rated at 45 microfarads and it tests at 37, the system still runs, but the capacitor is on borrowed time. A $79 tune-up will not tell you that. A maintenance visit will, and you can replace a $45 part on a Tuesday instead of paying an emergency call on a Sunday.
Dalton Heating & Air Henderson believes in the written version. Our maintenance visits include a written report of what was found and what the numbers were, because that is what allows a homeowner to make a decision on evidence rather than a technician’s mood. The price is in writing before any work begins, which is the same standard we apply on furnace repair in Henderson and every other service call.
Common Mistakes to Avoid
- Waiting until June to schedule the pre-season check. Every Henderson contractor runs a waitlist once the heat hits. The time to get on the schedule is February or March, before the emergency calls start piling up.
- Using the cheapest fiberglass filter and forgetting it. A $3 blue fiberglass filter catches almost nothing, and a loaded one starves the system. Use a pleated filter with a MERV rating between 8 and 11, and put a reminder on your phone for the first of each month from April through September.
- Pouring bleach into the condensate drain. Bleach is a biocide, not a descaler. It will not dissolve Henderson’s mineral scale, and it can corrode the coil if it sits in the line. Use a drain-line cleaner made for HVAC systems or white vinegar diluted with water.
- Planting shrubs or building a storage enclosure around the outdoor unit. The condenser needs at least two feet of clear air on all sides and five feet above, and more is better in Henderson’s 110°F afternoons. A shaded unit with restricted airflow runs hotter than an unshaded one with open airflow.
- Ignoring a float-switch shutdown. When the system shuts off because the condensate line is blocked, the fix is clearing the line, not repeatedly resetting the breaker or the switch. Repeated resets have caused water damage in Henderson homes that is more expensive than the AC repair.
- Skipping maintenance because the system “still cools.” A system with a weak capacitor, a restricted coil, and a half-clogged drain will still cool in the spring. The failure surfaces in the heat, when the unit has no reserve capacity left. The maintenance visit is the reserve.
When to Call a Professional
Some tasks are homeowner work. Some are not. Call a professional if the system trips the breaker more than once, if the outdoor unit hums but does not start, if you see ice on the refrigerant lines or the indoor coil, if water is leaking from the air handler or pooling around the furnace, if you smell burning or see scorch marks inside the electrical panel, or if the system runs but the air from the registers is warm. Refrigerant work, electrical panel work, and anything that requires opening the sealed refrigeration circuit is not DIY territory. The systems are under pressure and voltage, and a mistake in either is expensive or dangerous. Dalton Heating & Air Henderson offers free estimates in Henderson on repair work of any size, and you can reach a live person any time. Call (775) 593-7060 to get someone on the phone, not a voicemail queue.
Frequently Asked Questions
During the cooling season, every 30 days, and more often if you live in a newer Henderson neighborhood where construction dust or open desert is nearby. A 1-inch pleated filter loaded with caliche dust can increase energy use by 10% or more and reduce airflow enough to freeze the coil. Set a reminder for the first of each month from April through September.
A real preventive maintenance visit in Henderson typically runs $150 to $300 depending on the system and the level of measurement performed. A bare-bones tune-up may be advertised for less, but it rarely includes the capacitor test, contactor inspection, or drain-line clearing that Henderson’s operating conditions actually require. Dalton Heating & Air Henderson provides a written price before any work begins, and the maintenance visit includes a written report of the system’s measurements.
Generally no. Henderson’s winters are dry, and a breathable full-fit cover is acceptable if it is installed correctly, but a standard tarp should not be used. A tarp traps condensation against the coil and electrical connections, and it can create corrosion problems that did not exist before. Most Henderson homeowners leave the unit uncovered, which is the right call.
The most common cause in Henderson is a backed-up condensate drain line. When the drain line clogs with mineral scale from our hard water, the float switch in the drain pan shuts the system off as a safety measure. The fix is clearing the drain line, not resetting the breaker or the switch repeatedly. Other causes include a weak capacitor, an overheating compressor, or a failing thermostat. If the system shuts down more than once, have a technician diagnose it rather than resetting it.
Across our Henderson service calls, the two most common repairs are capacitor replacement and condensate drain clearing. Both are accelerated by the same factors: high run hours, hard water, and fine dust. A capacitor replacement typically runs $180 to $300 depending on the unit, and a drain-line clearing is often resolved in a single visit. These are both repairs that a proper pre-season maintenance visit can catch before they strand you in the heat.
The rule of thumb we use in Henderson is based on age, repair cost, and compressor health. If the system is under 10 years old and the repair is under $1,500, repair is usually the right call, especially if the system has been maintained. If the system is 15 years or older, if the compressor has failed, or if the repair would cost more than half the price of a new system, replacement usually makes more financial sense. A system that runs 2,800 hours per year in Henderson ages faster, so the replacement math happens sooner than in milder climates. Call (775) 593-7060 and we will give you an honest reading on the unit’s condition and a written price for either path.
The Bottom Line
A Henderson AC system is not a seasonal appliance. It is a nine-month-a-year machine operating in dust, heat, and hard water, and the maintenance calendar has to respect that. The core tasks are not complicated: change the filter every 30 days in season, clear the drain every 60 days, inspect the capacitor and contactor each spring, and wash the condenser coil after dust storms. The difference between a system that runs ten years and one that dies in seven is rarely dramatic. It is the sum of small tasks done on schedule, and the difference between a $79 tune-up and a real maintenance visit is whether anyone actually measured anything. If you want help building a maintenance plan for your specific system, or you want a written price on any repair in Henderson, call Dalton Heating & Air Henderson at (775) 593-7060. We answer the phone with a live person, 24 hours a day. No voicemail queue, no callback window.
Written by Marco Benitez, Owner at Dalton Heating & Air Henderson, serving Henderson since 2003. Explore more guides & resources from our team.
See the difference
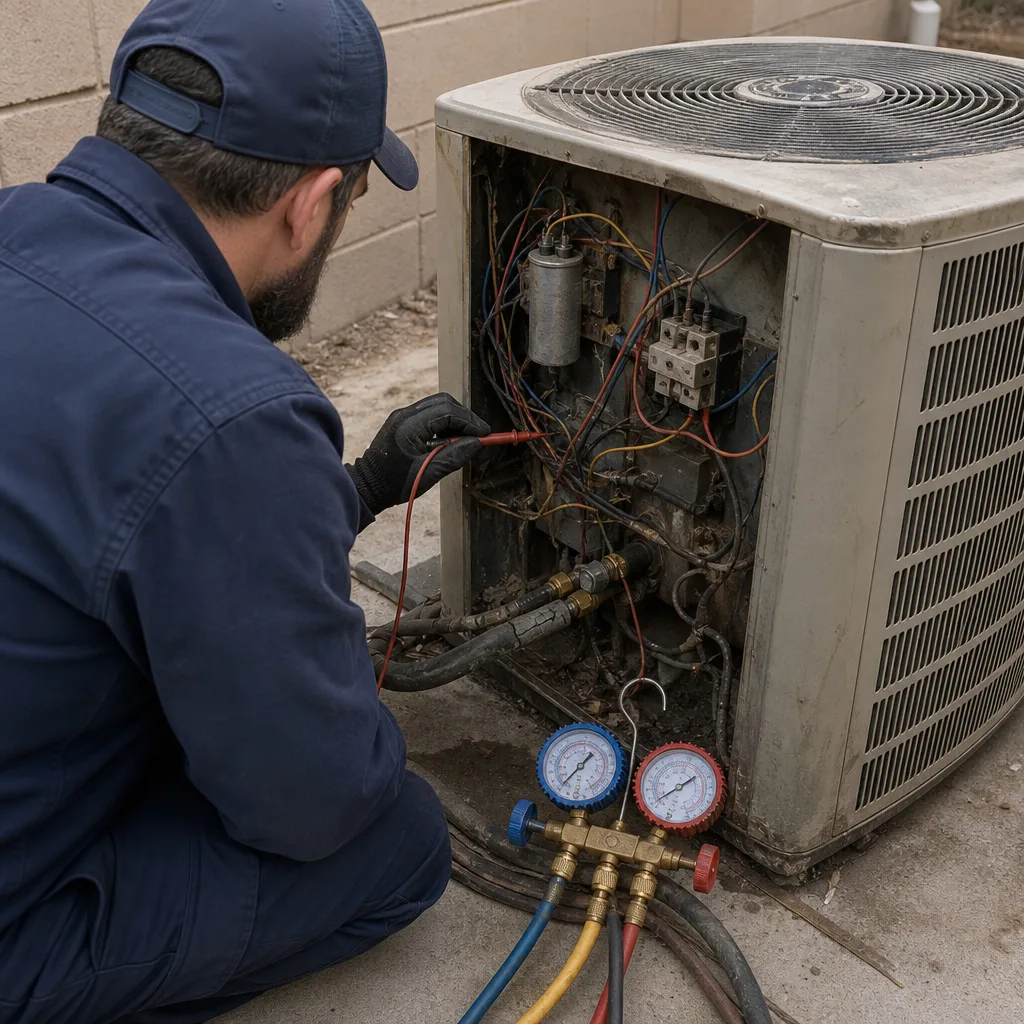 Before
 After
After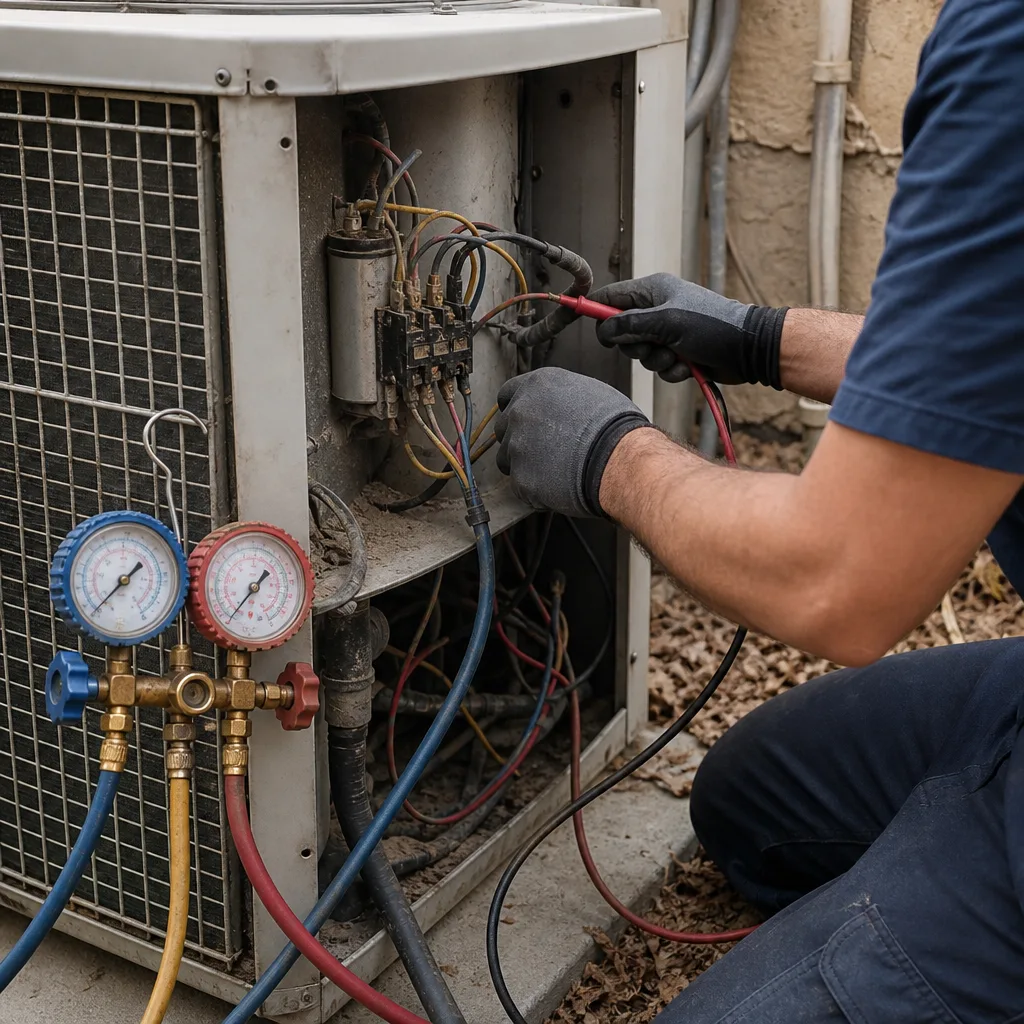 Before
 After
After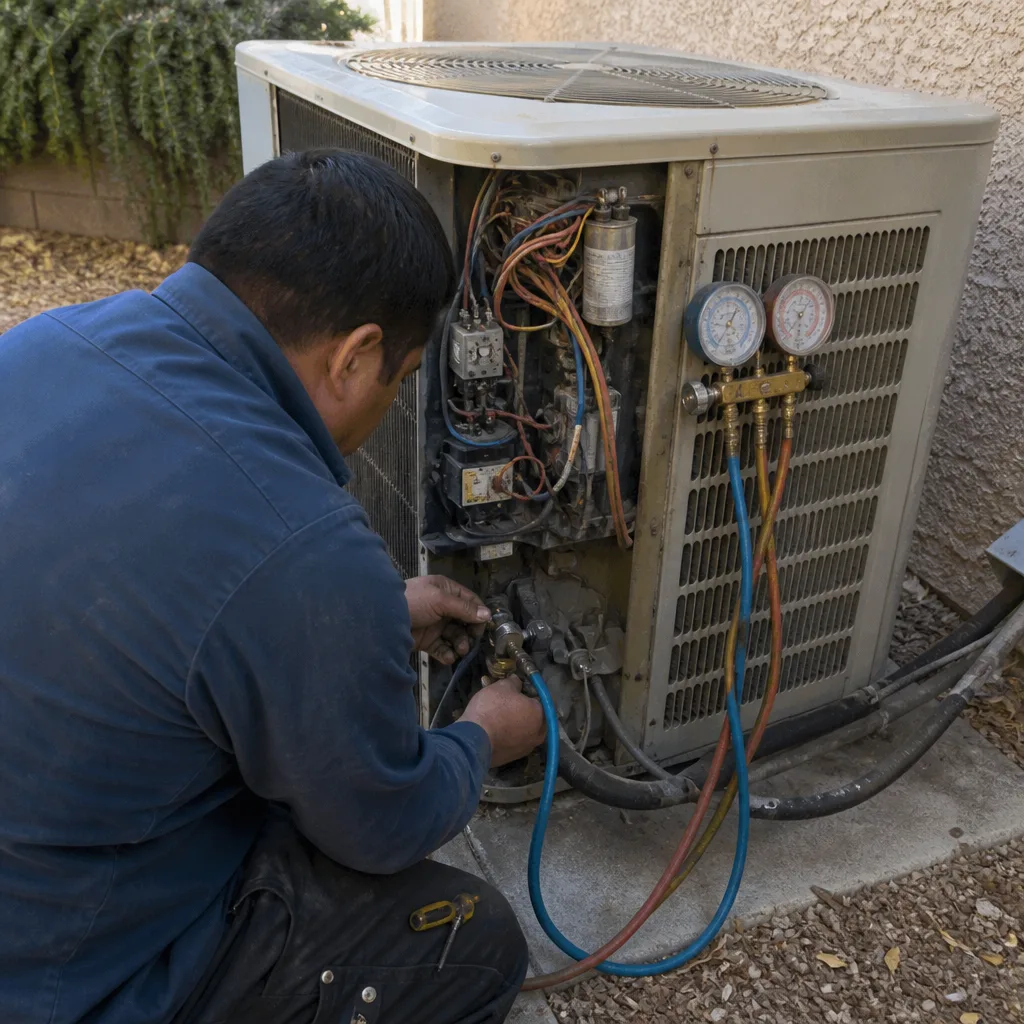 Before
 After
After